- 2021-04-01 — This does not end well
- 2021-05-01 — Hacking the Rollova: The Nuclear Option ⬿
Hacking the Rollova: The Nuclear Option
(part one of hacking the Rollova 2.0)
Not being satisfied with giving up (and always keen to acquire a new tool), I decided to take the nuclear option: remove the original MCU and replace it with a suitable equivalent.
Having already determined with a fair level of certainty that the original is an STM32L series MCU, I ordered a STM32L562. It has 512KB of flash, which should be plenty for anything I might want to put on here. This job could be done with just a soldering iron, but my research indicated that a hot air rework station would be better for SMD soldering. I picked up the one from Sparkfun.
Replacing the MCU
After researching the correct temperatures and experimenting an a piece of garbage PCB from the recycling bin, I set to work on the real thing. Having not fully grasped the process ahead of time, I did end up inappropriately using solder paste to desolder the original (which makes no sense, solder paste contains solder; flux would have been the correct substance). This didn’t end up being a huge problem, it just meant there was more solder to clean from the pads.
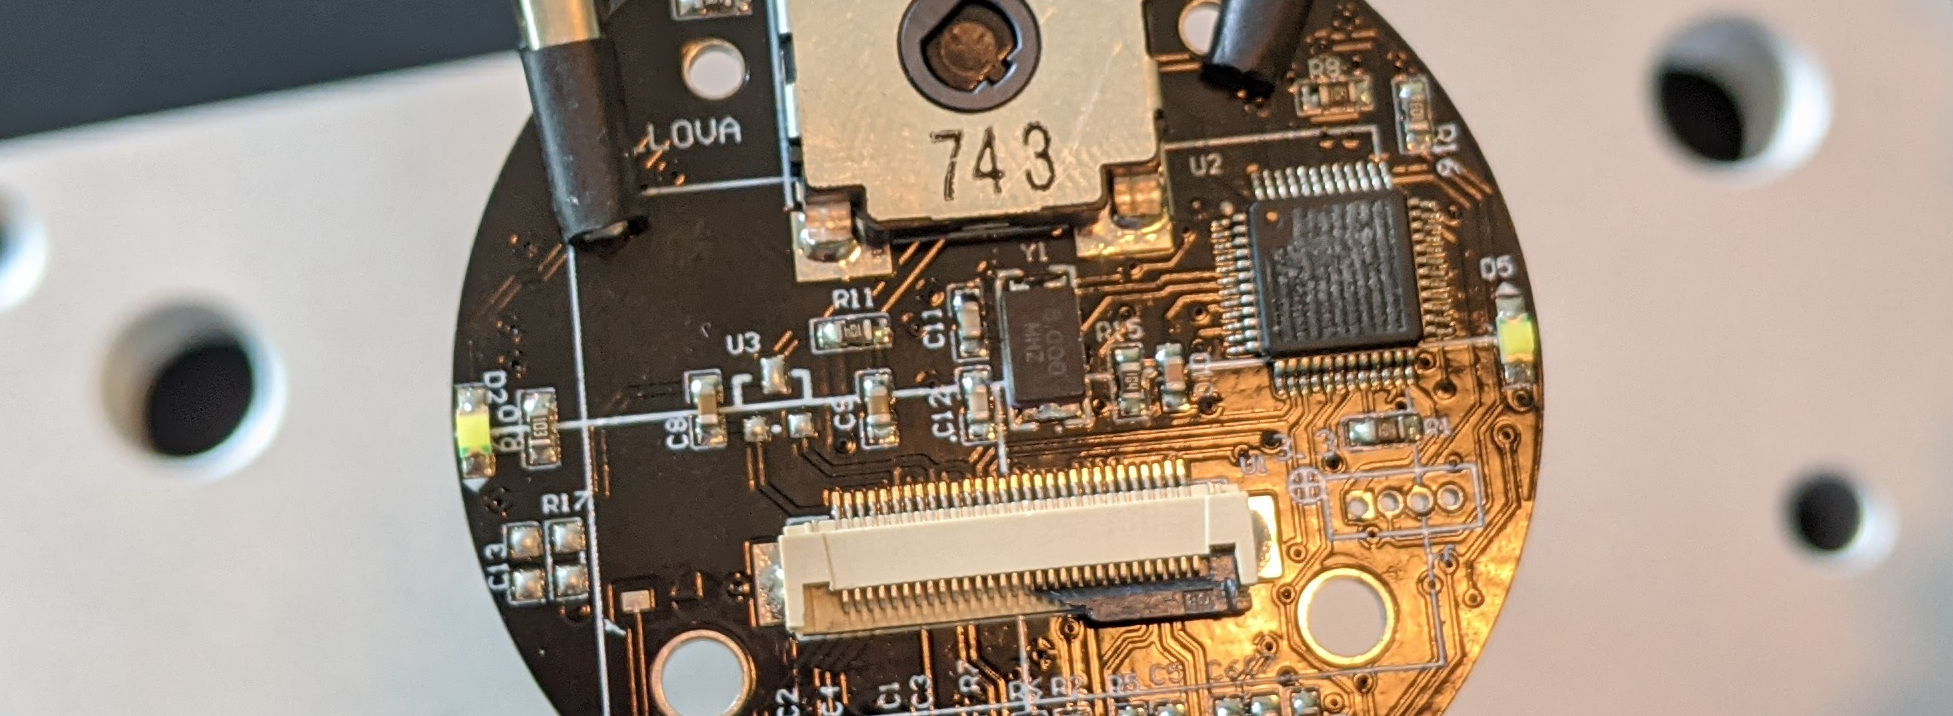
The board with the original STM32 chip
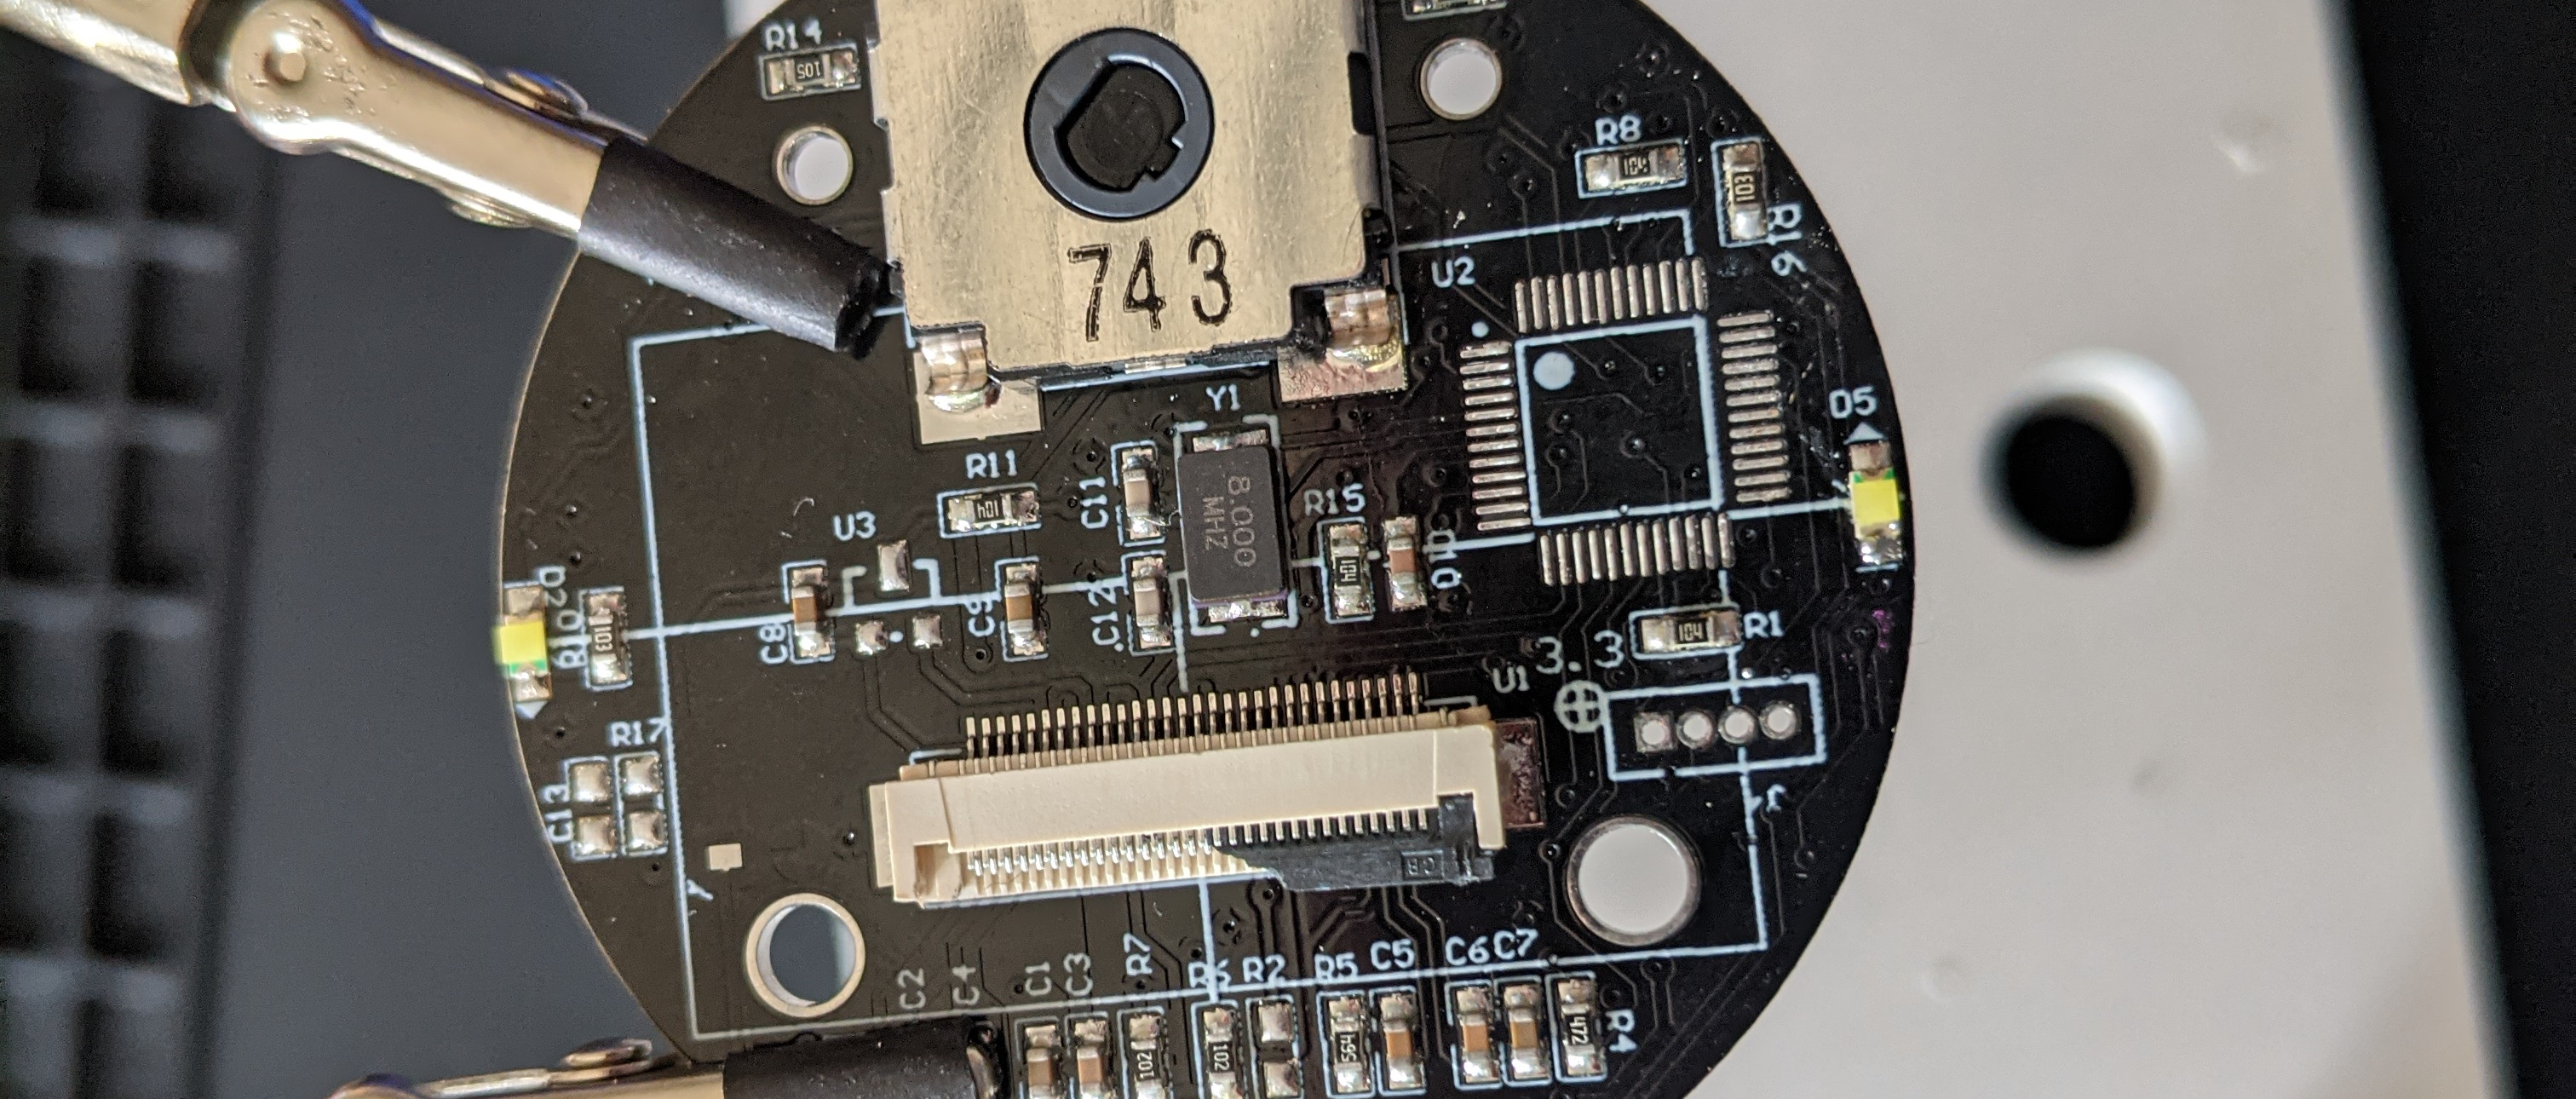
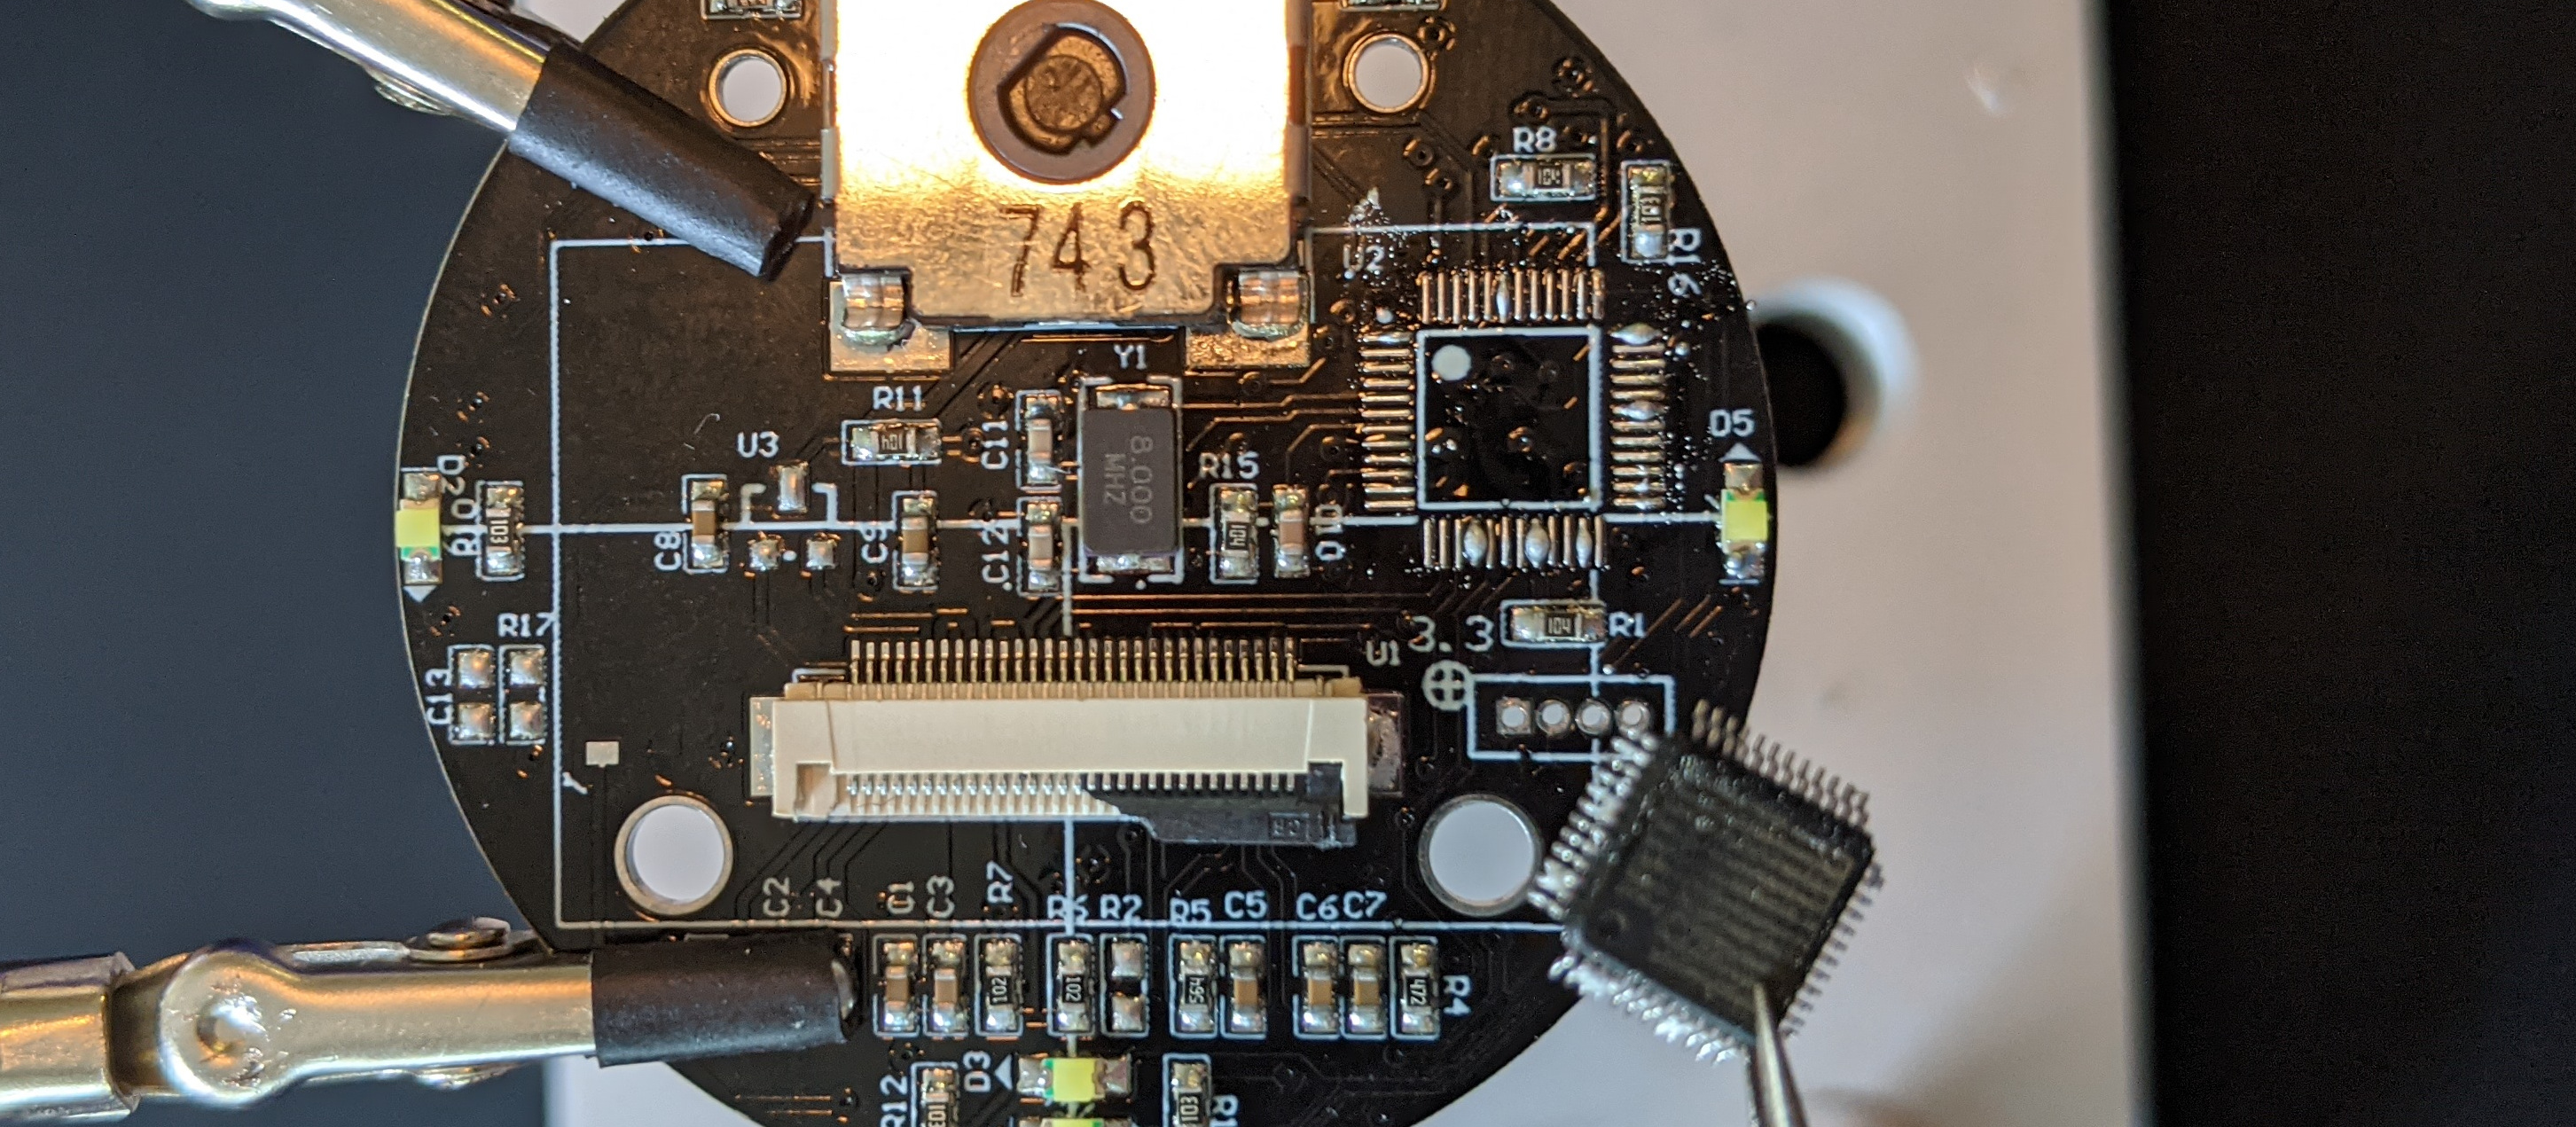 The original STM32 chip held in tweezers above the board, having been removed
Using a flat soldering-iron tip to remove the excess solder and cleaning with a bit of isopropyl alcohol and a q-tip worked very nicely.
The next step was gently placing the new MCU onto the pads, and applying soldering paste (the correct thing to do this time). It ended up being a bit too much, as there was some excess solder to wick away once it was done.
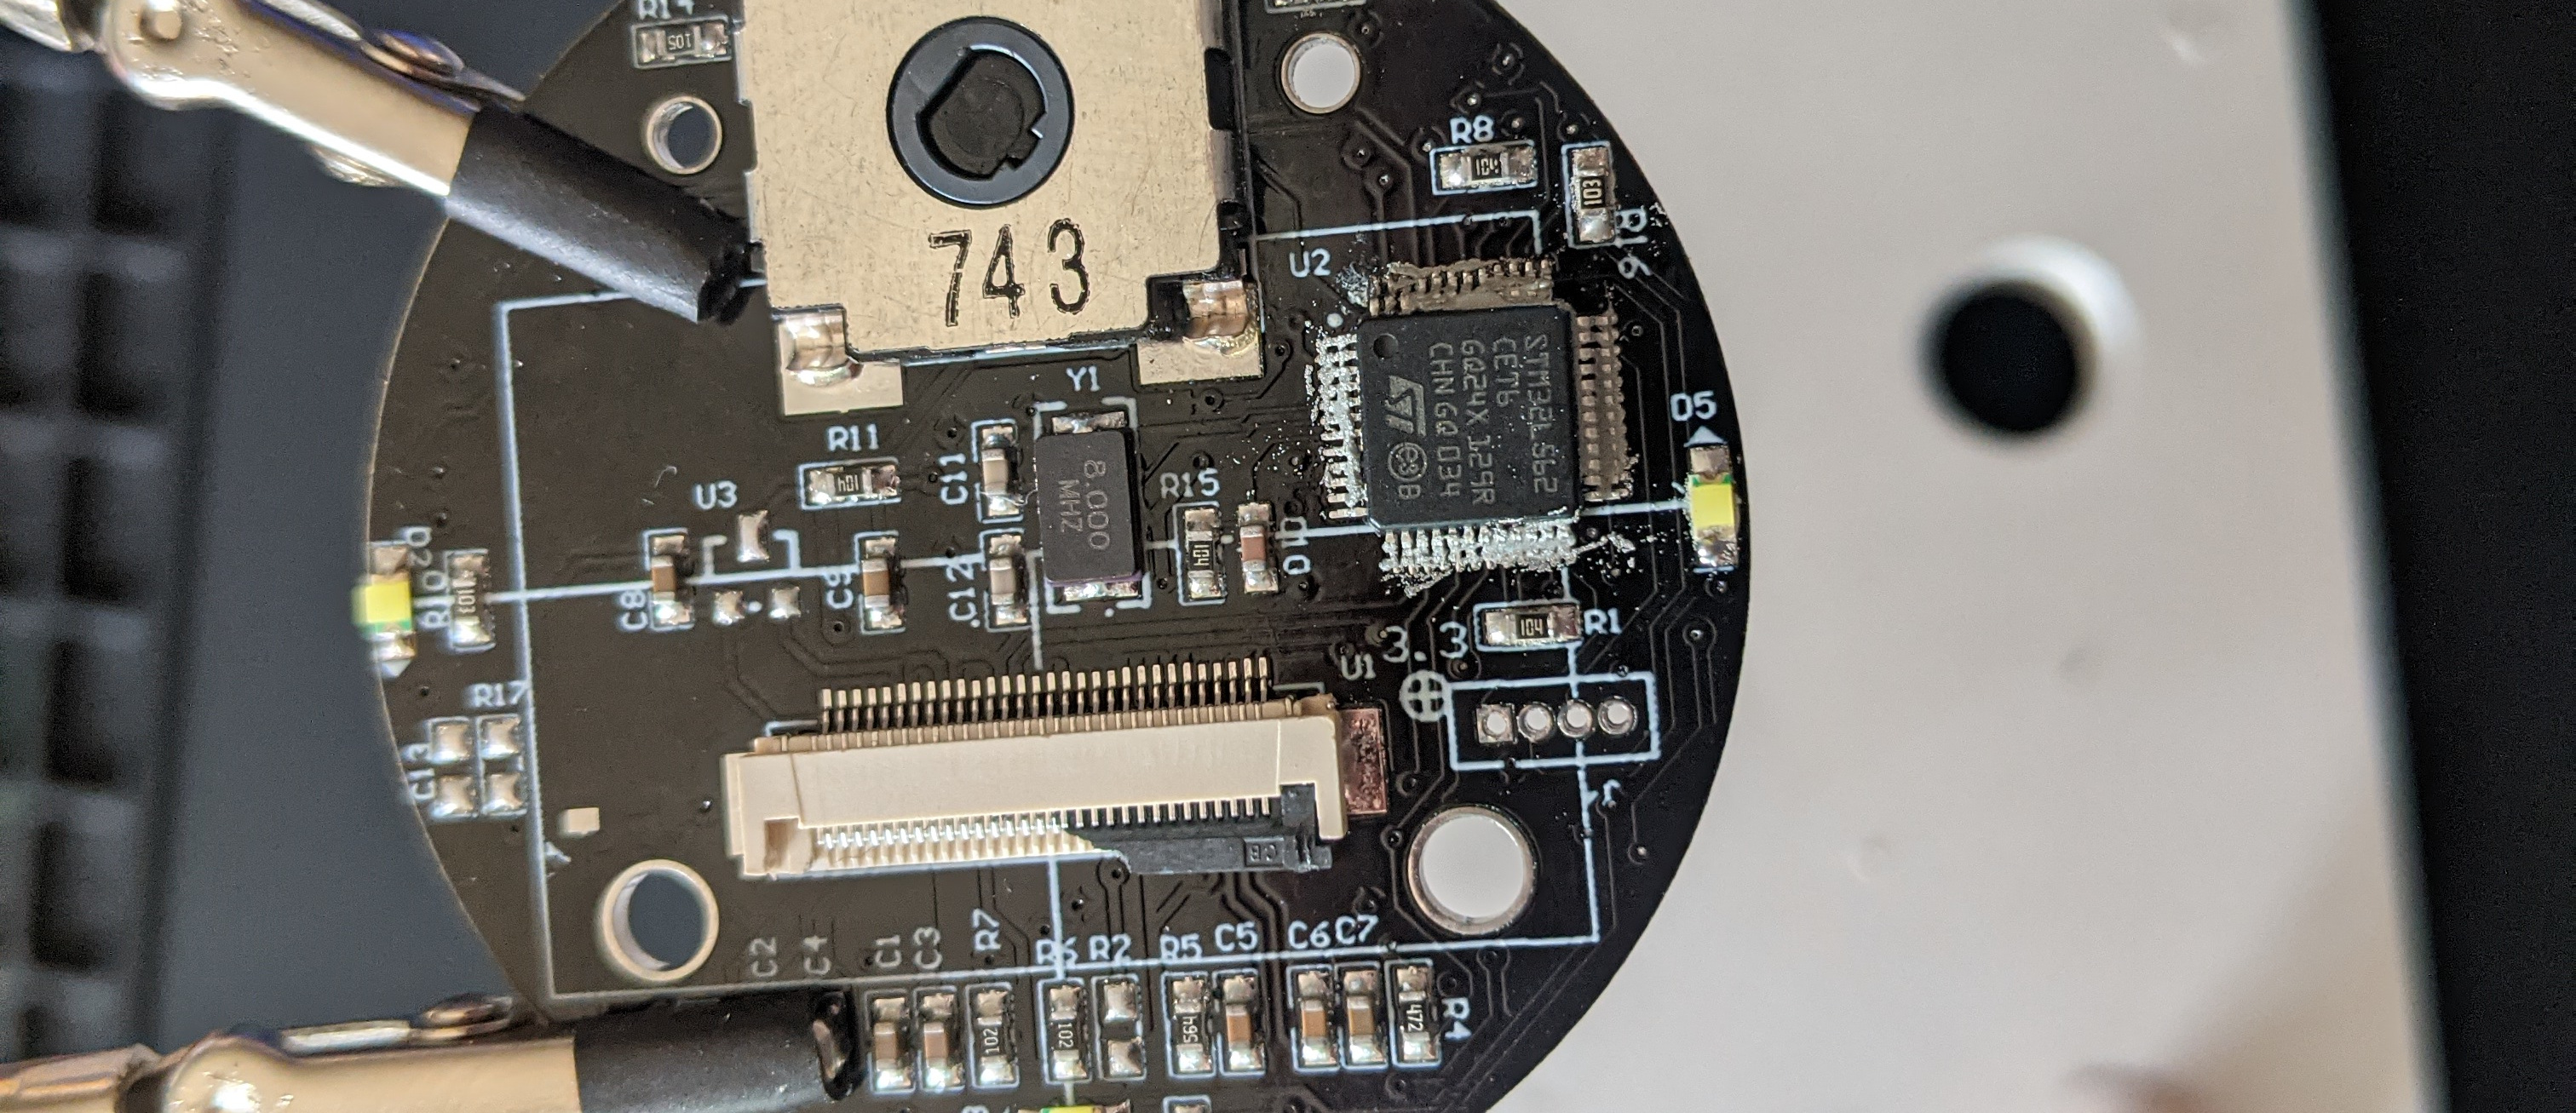
After a couple minutes of pre-heating, the solder paste melted under the hot-air in only a few seconds, and created a beautiful, clean result.

Connecting
The hard part done, it was time to find out if this was going to work. Connecting the 4 pins just like before (VDD, VCC, SWCLK, and SWDIO), I opened STM32CubeProgrammer. Terrified that all of this work being for naught, I clicked the “Connect” button.
Target not found
My heart sunk, and I was ready to give up. But because the circumstances were different now (this is a brand new MCU), the desparate googling I did was more related to programming a bare STM32, about which there is much more information. Happening upon an article that indicated that the MCU needed its own power supply, I tried replacing the original batteries and re-tried the connection.
Data read successfully
After this much work and troubleshooting, it was unbelievable. I doubt cocaine can possibly deliver the high I felt, having overcome what seemed like impossible odds. But there it was, the device ID (0x472) read from memory. Proof that the replacement was operating nominally on the Rollova’s board.
The sad news
Part of what I wanted out of this was a community of Rollova owners (likely pretty small) who were interested in hacking it and writing new software for the platform. This is only feasible if participation doesn’t require carefully soldering a new $10 MCU onto a $90 piece of hardware. The number of people willing to take those steps (as I have) is probably approximately 1. With the desire to remove that barrier, it seemed appropriate to take another shot at re-programming the original. Thus, I bought a QFN48 breakout board, and used the hot-air rework station to solder down the Rollova’s original MCU.
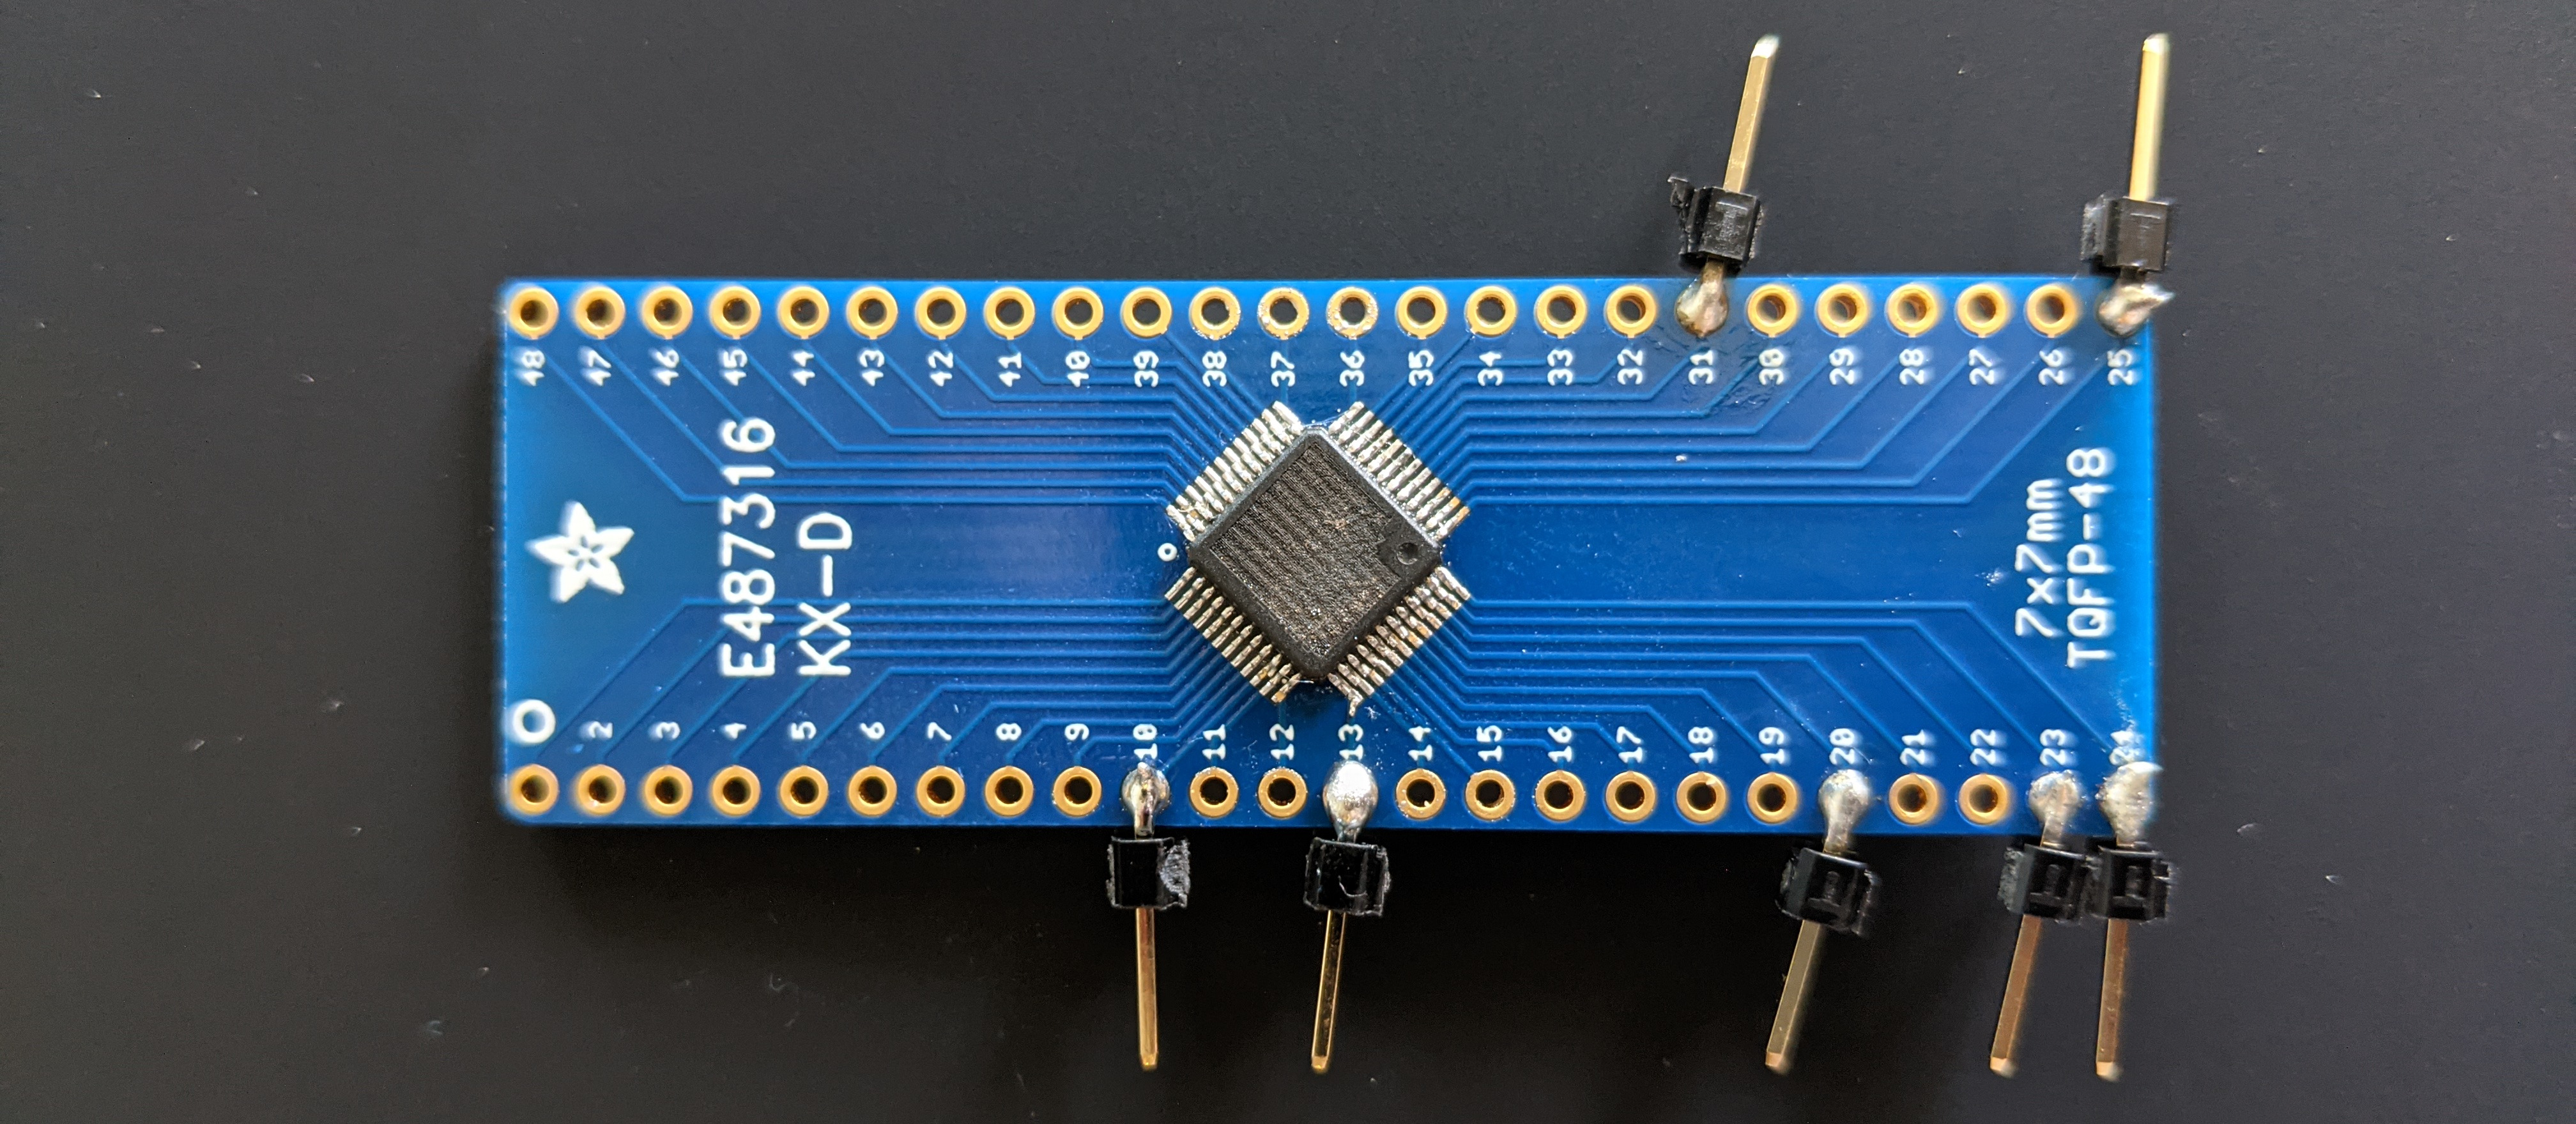
Tragically, even with all of the lessons learned from previous attempts, I was still met with the message with which I’ve become so familiar.
Target not found
The end…
So that’s it. Without a way to re-flash the original chip, the chances of any other person being involved in this project feels like 0%. It dampens my motivation to write games/software to be consumed by only a single user. But I still will. Once this project has reached the point of being able to listen for buttons and print to the LCD, I’ll post another update.
Update: Since successfully replacing the microcontroller and communicating with it, some part of the project has broken while sitting out on my desk. I tried to rework the solder, but it simply doesn’t work now. Even after replacing the original MCU onto the board, and soldering the new MCU to a breakout, neither are talking at all. My suspicion is that they’re both roasted from all of the heat gun work. Maybe I’ll get a replacement Rollova and STM32 and give it another shot with my improved skills in the future, but my motivation is lacking at this point.
